Streamlining Your In-Person Sales Experience
Pop-up shops are an incredible way to connect directly with your customers, build brand awareness, and drive sales beyond your online storefront. I’ve found them to be one of the most dynamic avenues for growth.
However, the success of any pop-up hinges significantly on a smooth and efficient checkout process. You want to make it as easy as possible for customers to complete their purchase.
That’s precisely where a well-configured Shopify POS (Point of Sale) hardware setup becomes absolutely indispensable. It’s your secret weapon for seamless in-person transactions.
In this comprehensive guide, I’m going to walk you through every step of setting up your Shopify POS hardware, ensuring you’re fully prepared for your next pop-up event.
My goal is to demystify the process, allowing you to focus on what truly matters: engaging with your customers and showcasing your amazing products.
The beauty of Shopify POS is its direct integration with your existing Shopify online store. This means all your inventory, customer data, and sales figures sync effortlessly.
This real-time synchronization is a game-changer, preventing overselling and giving you a unified view of your business performance across all channels.
To get started, you’ll need a few core hardware components. Think of these as the backbone of your pop-up’s checkout station.
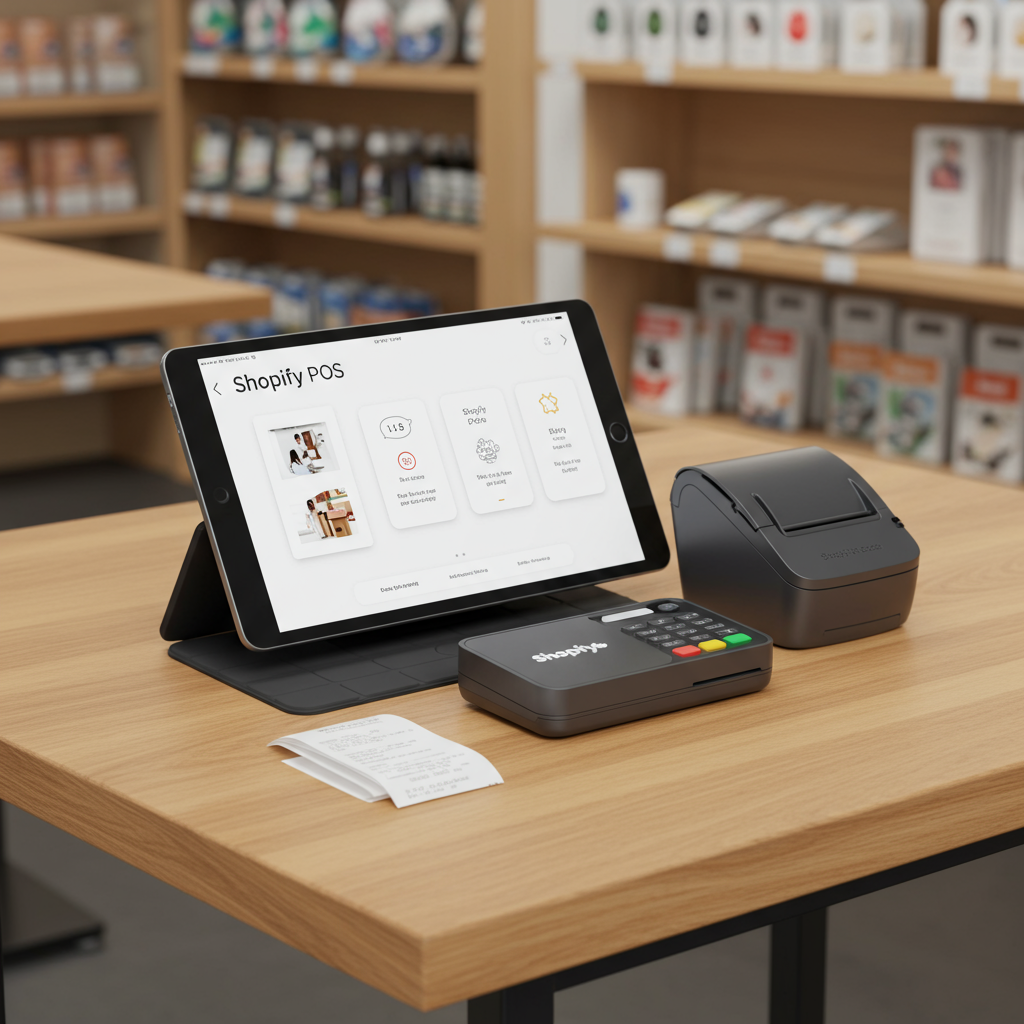
The absolute essentials typically include a tablet (like an iPad) and a reliable card reader. Depending on your needs, you might also want a cash drawer, a receipt printer, and a barcode scanner.
Let’s begin with the central hub of your operation: the tablet. I highly recommend using an iPad for its robust performance, user-friendly interface, and excellent compatibility with the Shopify POS app.
Before heading to your pop-up, ensure your tablet is fully charged and has the latest version of the Shopify POS app downloaded and installed from the App Store.
Next up is the card reader, which is absolutely crucial for accepting credit and debit card payments. Shopify offers several compatible readers, such as the Shopify Tap & Chip Reader or various WisePad models.
I always connect my card reader via Bluetooth. The process is straightforward: simply navigate to the ‘Hardware’ section within the Shopify POS app and follow the on-screen pairing instructions.
It’s vital to remember to fully charge your card reader before the event. A dead reader means you can’t accept card payments, which could lead to lost sales and frustrated customers.
While many transactions are cashless these days, a cash drawer is still an essential piece of equipment for handling cash payments and providing change accurately.
Most cash drawers don’t connect directly to your tablet. Instead, they typically connect to your receipt printer, which then triggers the drawer to open automatically after a cash transaction.
A receipt printer isn’t strictly mandatory, as you can email receipts, but I find it adds a professional touch and is necessary if you’re using a cash drawer.
I personally prefer thermal receipt printers for their speed, quiet operation, and the fact that they don’t require ink cartridges.
Depending on the model, your receipt printer might connect via Bluetooth, USB, or even Ethernet. For pop-ups, Bluetooth connectivity is usually the most convenient and portable option.
If you have a large inventory or want to significantly speed up your checkout process, a barcode scanner is a lifesaver. It minimizes manual entry errors and makes transactions lightning fast.
Like the card reader, most portable barcode scanners connect wirelessly via Bluetooth, making them easy to integrate into your mobile pop-up setup.
Once all your hardware is charged and ready, it’s time to set up the software. Open the Shopify POS app on your tablet and log in using your Shopify store credentials.
This login process is what links your pop-up sales directly to your online store, ensuring all your data is centralized and accessible.
Within the app, navigate to ‘Settings’ and then ‘Hardware.’ Here, you’ll find options to connect each of your devices – your card reader, receipt printer, and barcode scanner.
Before you open your doors to customers, I always recommend running a few test transactions. Create a dummy product for $0.01 and process a sale to ensure everything is working perfectly.
Crucially, make sure your inventory is completely up-to-date in your Shopify admin before you even leave for the pop-up. This prevents any embarrassing overselling situations.
A stable internet connection is absolutely vital for processing payments and syncing data. I always have a mobile hotspot as a backup, just in case the venue’s Wi-Fi is unreliable or non-existent.
If you have staff helping you at the pop-up, take the time to train them on how to use the POS system. A quick run-through can prevent confusion and delays during busy periods.
Don’t forget the small but important supplies: extra rolls of receipt paper, charging cables for all your devices, and enough change for your cash drawer.
During the event, keep an eye on battery levels and connectivity. If a device disconnects, try restarting it and then re-pairing it within the Shopify POS app.
Most common issues can be resolved by simply re-pairing the device or restarting the Shopify POS app. Don’t panic; a quick troubleshoot usually does the trick.
After the pop-up concludes, all your sales data will automatically sync back to your Shopify admin, giving you a complete overview of your event’s performance.
I personally love reviewing the sales data to see what products were most popular and to identify any emerging trends from my in-person interactions.
Carefully disconnect and pack away all your hardware. Store it safely and securely, ready for your next successful pop-up adventure.
This streamlined setup allows me to focus on engaging with my customers and providing an excellent shopping experience, rather than wrestling with technical glitches.
It truly makes running a pop-up a breeze, giving me confidence that every transaction will be smooth and professional.
What do you think about this detailed guide? I’d love to hear your thoughts and any tips you might have from your own pop-up experiences!


