Empower Your Brand: A No-Code Guide to Designing a Unique Online Store
As a Shopify merchant, you know the importance of a unique and engaging online store. Your theme is the face of your brand, and making it stand out is crucial for attracting and retaining customers.
However, the thought of customizing your Shopify theme often brings up images of complex coding, daunting lines of HTML, CSS, and JavaScript. For many, this is a significant barrier.
But what if I told you that you can achieve a highly customized and professional-looking Shopify store without writing a single line of code? It’s absolutely true, and I’m here to show you how.
My goal today is to demystify Shopify theme customization and empower you to take full control of your store’s appearance and functionality, all through user-friendly, no-code methods.
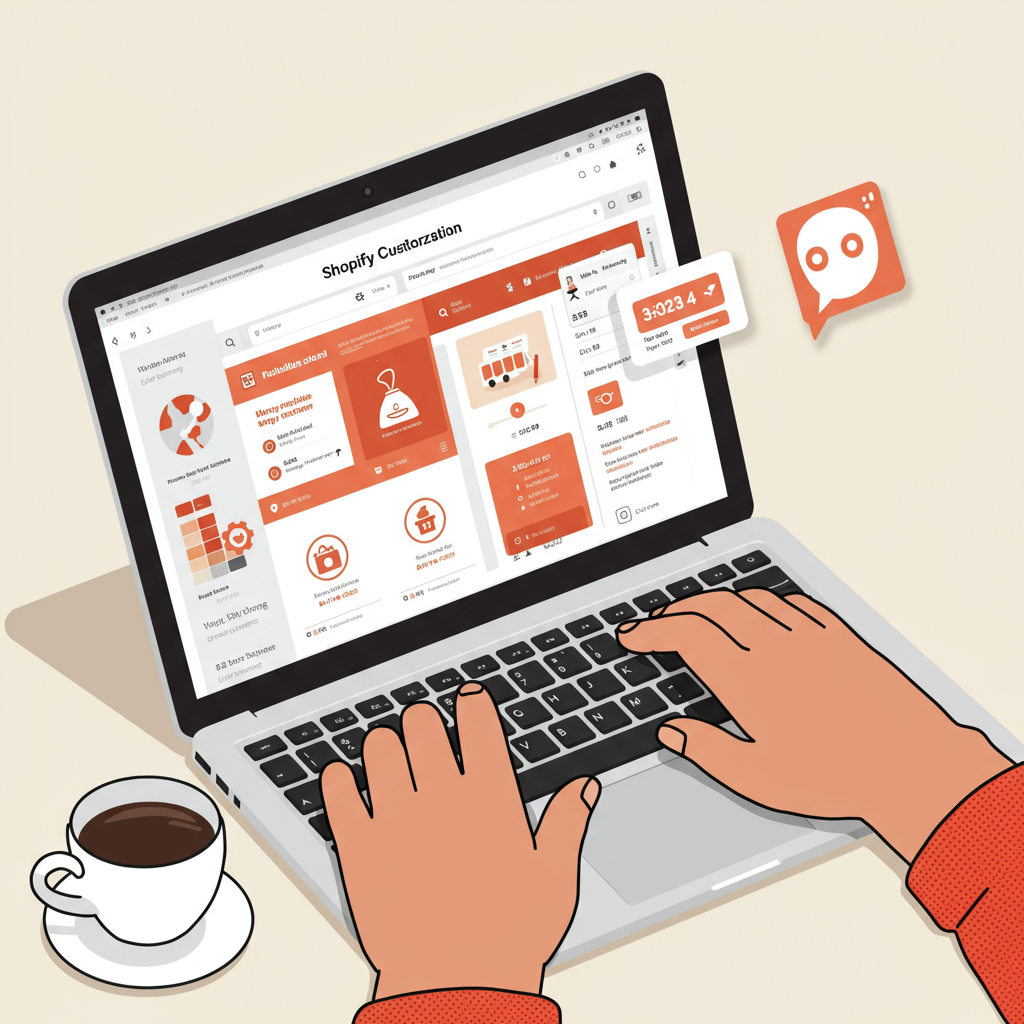
Let’s dive into the primary tool at your disposal: the Shopify Theme Editor. You can access this by navigating to “Online Store” > “Themes” in your Shopify admin and clicking the “Customize” button next to your active theme.
This intuitive visual editor is your command center. On the left, you’ll see sections and blocks, and on the right, a live preview of your store. Any changes you make are instantly visible.
The editor is structured around “Sections.” Think of sections as pre-built content blocks that you can add, remove, reorder, and configure on various pages, especially your homepage.
Common sections include slideshows, featured product grids, rich text blocks, image with text overlays, collection lists, testimonials, and blog post grids. Each section comes with its own set of customizable settings.
For instance, if you add an “Image with text” section, you can upload your image, adjust its position, change the heading and body text, and even link a button, all without touching code.
Beyond the homepage, the theme editor also allows you to customize the layout and content of other page types, such as product pages, collection pages, blog posts, and static pages like “About Us” or “Contact.”
On a product page, for example, you can often reorder elements like the product title, price, description, and add-to-cart button. You can also enable or disable features like quantity selectors or variant pickers.
Then there are “Theme Settings.” These are global settings that apply across your entire store. This is where you control your brand’s colors, typography (fonts), social media links, favicon, and even checkout page branding.
I always recommend starting with theme settings to establish your brand’s visual identity. Choosing consistent colors and fonts instantly elevates your store’s professionalism.
Another powerful no-code avenue is the Shopify App Store. This marketplace is brimming with applications designed to extend your store’s functionality far beyond what your theme offers natively.
Need a sophisticated page builder to create stunning landing pages or custom product layouts? Apps like PageFly, Shogun, or GemPages offer drag-and-drop interfaces that are incredibly powerful.
Want to add product reviews, upsell pop-ups, loyalty programs, or advanced filtering options? There’s an app for almost everything, and most integrate seamlessly with your theme without requiring any coding knowledge.
When choosing an app, I always advise checking reviews, looking at their support documentation, and often starting with a free trial to ensure it meets your specific needs and integrates well with your existing setup.
Some themes, especially modern Shopify OS 2.0 themes, offer even greater flexibility with “Sections Everywhere.” This means you can add any section available on your homepage to virtually any other page type.
This feature significantly enhances your ability to create unique and dynamic layouts for product pages, collection pages, or even blog posts, giving you unprecedented control without needing a developer.
While not strictly “customization” in the visual sense, I also want to mention Shopify’s built-in “Metafields.” These allow you to add custom fields to products, collections, customers, and more.
For instance, you could add a “Care Instructions” metafield to your products, and then display this information on your product page using your theme editor (if your theme supports it, which many modern themes do).
This is a fantastic way to store and display unique data points relevant to your specific products or services, making your product pages richer and more informative for your customers.
Before you embark on any significant customization, I have a crucial piece of advice: always, always duplicate your live theme first. This creates a safe backup, allowing you to experiment without fear of breaking your live store.
You can work on the duplicated theme, preview your changes, and only publish it when you are completely satisfied. This simple step can save you a lot of headaches.
Also, remember to test your customizations on various devices – desktops, tablets, and mobile phones. A responsive design is paramount in today’s mobile-first world.
Keep your design clean and user-friendly. While it’s tempting to add every feature, sometimes less is more. Focus on clear navigation, fast loading times, and a seamless customer journey.
Over-customizing can sometimes lead to a cluttered appearance or slow down your site. I always recommend prioritizing functionality and clarity over excessive visual flair.
What do you think about this article? I’d love to hear your thoughts on these no-code customization methods. What are your biggest challenges when customizing your Shopify store, and what tips have you found most helpful?
In conclusion, customizing your Shopify theme without coding is not only possible but also highly accessible. With the theme editor, the vast app store, and smart planning, you have all the tools you need.
You can create a truly unique, high-performing, and beautiful online store that perfectly reflects your brand and delights your customers, all without ever touching a line of code. Go forth and customize!


